Introduction
Building a LEGO race track is an exciting project for LEGO fans of all ages. Whether you’re an experienced builder or just starting, this guide will help you construct a custom race track that brings your racing fantasies to life.
Materials Needed
- A variety of LEGO bricks and plates
- LEGO baseplates for the foundation
- LEGO car sets or build-your-own race cars
- Decorative LEGO pieces for embellishment (optional)
Step 1: Design Your Track Layout
Start by sketching out your track design on paper. Consider adding curves, straightaways, and fun elements like jumps or tunnels. Once you’re happy with the design, begin laying out the baseplates to match your sketch.
Step 2: Build the Foundation
Using large LEGO plates, create the foundation of your track. Connect them securely on a flat surface. This base will support the entire race track, so make sure it’s sturdy.
Step 3: Construct the Track
Begin building the actual track using your LEGO bricks. Depending on your design, this could involve constructing straight paths, curves, and elevation changes. Keep in mind the width of your track should accommodate your LEGO cars comfortably.
Step 4: Add Details and Features
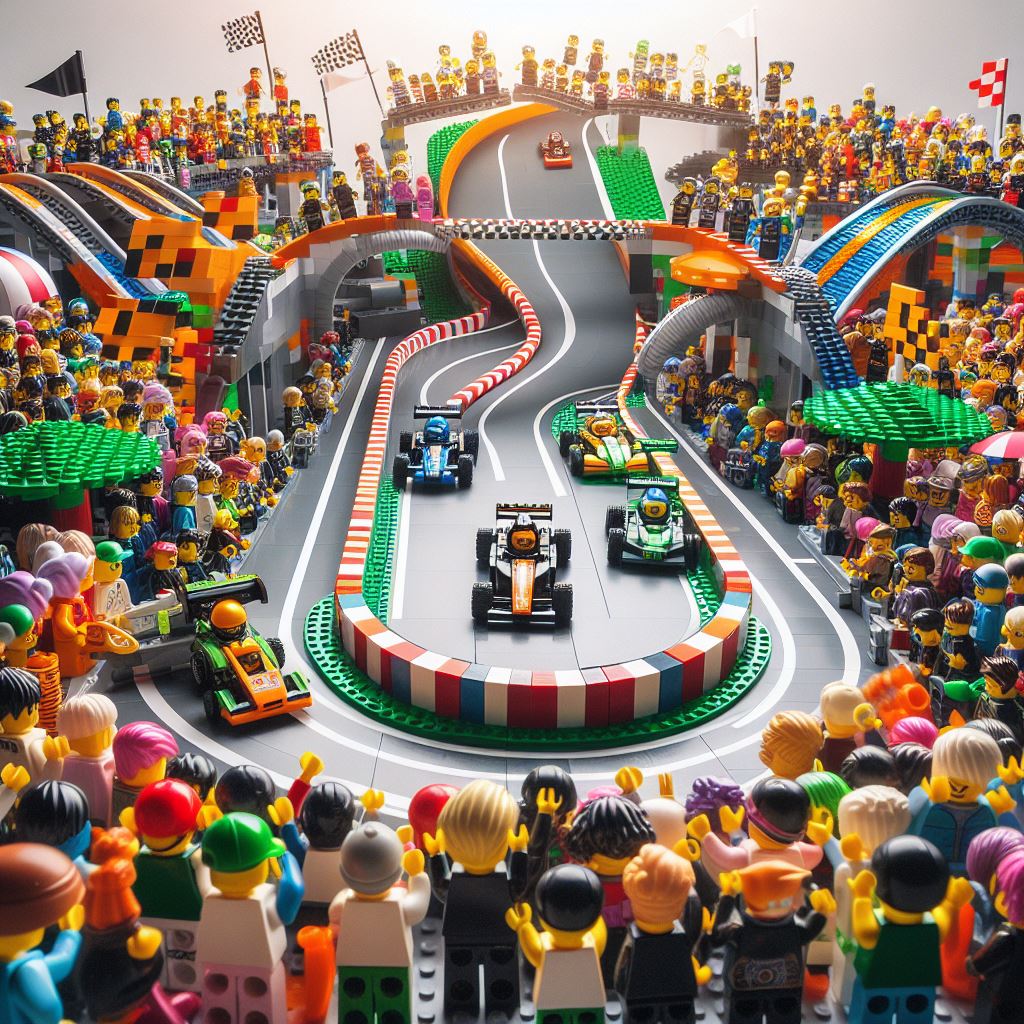
Now that the basic track is in place, add fun elements like bridges, tunnels, or jumps. You can also include aesthetic details like trees, stands for spectators, or pit stops to make your track come alive.
Step 5: Test and Tweak
It’s crucial to test your track with a LEGO car to ensure everything functions as expected. Run the car around the track to check for any issues. Make adjustments as necessary to improve the design or functionality.
Final Thoughts
Building your own LEGO race track is a rewarding project that offers limitless possibilities for customization and creativity. Remember, the key to a great race track is not just in the construction but also in the imaginative details that make it uniquely yours.

Leave a Reply